There are two main factors to consider when deciding on the best time to post on Instagram. You want to post when your audience is most active. Because Instagram loves to promote posts that have just been published, this is important. It favors posts with high engagement.
Sprout Data
Sprout Social has compiled data on the best times to upload on Instagram and Facebook. Its research suggests that the best times for these social media platforms are between 9am and 4pm, Monday through Friday. Weekend engagement is more scattered.
This information is useful for businesses and brands to determine when they should post. Your brand's purpose should determine the posting times. In this example, Instagram is increasingly being used by nonprofits to engage with their communities. For nonprofits, the best times to post on Instagram are between 9am-2pm on Friday.
Sprout Social's chart
Your followers' location will determine the best time to upload on Instagram. According to a chart published by Sprout Social, the best time to post is from 9 am to 11 am EST. This is because people often check their phones in the morning. However, people's attention span begins to wane during the afternoon, so posting at this time may not be the best option for you.
Instagram's posting times are not the only factor that affects your engagement. You can see that users are more likely to engage with posts posted on Monday or Wednesday than on Fridays. If you are a business owner looking to connect with potential customers, posting on Fridays might be the best choice.
Your audience's behavior
You can be successful on Instagram by trying different times to post. Instagram's best time to post is different for each person. You need to experiment with different times to reach your target audience. Social listening is a great way to see what your competition is posting.
One of the best ways to figure out when to post on Instagram is to check your audience's behavior. The platform includes an insights feature that shows you when your audience is most active. This allows you to ensure that your posts get viewed by those most likely to be interested in your content.
Day of the week
If you want to maximize your engagement on Instagram, you should know the optimal time to post. According to data SproutSocial, weekdays are the best times to post on Instagram. But, keep in mind the fact that the hours of the application may be different. On weekdays, people are more likely to access the app in the morning, whereas on weekends, it's a bit different.
Content creators have put in a lot of hard work to grow a following. If your posts don't get engagement, it's a waste. Between 11:00 a.m. to 2 pm is the best time to post Instagram. While Instagram's average engagement is high between these hours, engagement tends to decrease towards the end.
Timezone
It's important to remember the timezones of your Instagram followers when you post to Instagram. While most users in the USA and Europe will be in the EST time zone, some users in other parts of the world may be in a different time zone. In these instances, it is best to post early in the afternoon or late at night.
Instagram has a few best times to post, but it all depends on your time zone. You can post at 11am to 2pm Eastern Standard Time on Thursdays. The best time to post on Friday is between 10-11 am Eastern Standard Time. This is the prime hour for engagement.
FAQ
What can I do to improve my photography skills with my phone?
To take amazing photos, you don't necessarily need to have expensive equipment. Amazing photos can be taken with your smartphone.
Just need to learn the basics of how to use it all.
There are many apps to help you edit and share your photos on both Android and iOS.
Here are five tips that will help you start taking better photographs.
-
Set Up Your Camera App. Your device should already have your camera app installed. If it is not installed, you can download it from Google Play.
-
Use Filters & Effects. You can change the look of your photo with filters and effects without even touching it.
-
Adjust Exposure. You can adjust the exposure to control the brightness of your photo.
-
Make sure you are shooting in the right light. Shooting in bright light makes it easier to see details in your subject. Photographing in low light conditions allows you to capture the highlights and shadows of your image.
-
Take Pictures of People. Photographing people can show others what you are most passionate about.
Learn more about taking better photos with your smartphone by reading our article 5 Tips to Improve Your Photography Skills.
Should I begin photography as a hobby.
Photographing is a great way to preserve memories and share them among friends and family. Photography allows you to see the world from a different perspective.
You can find many online resources to help you learn how to take better photographs.
You might also consider enrolling in classes at nearby community colleges or art schools. This gives you the opportunity to meet other photographers, who can offer valuable feedback.
Do I Need A Tripod?
This is one question that everyone wants to know. While a tripod may not be necessary all the time, it can prove to be extremely useful.
This allows you to keep your camera steady even when taking slow shutter speeds. Tripods can be a huge help when you are shooting landscapes or stationary subjects.
However, tripods can blur the images of moving subjects like sports and people. How can you tell which situations call for a tripod and why?
A tripod is useful in situations where you want to take pictures of fast action and stationary subjects. Examples include:
-
Sports
-
People
-
Landscapes
-
Close-ups
-
Macro shots
Do this test to see if you are unsure if you require a tripod. Keep your camera still, and then look through the viewfinder. You will need a tripod if you see blurred lines and movement.
A tripod won't make any difference if there is no blurring.
If you do decide on a tripod purchase, these are some things to remember.
-
Make sure your tripod has smooth legs. This helps to prevent vibrations from shaking the camera.
-
A tripod is a good choice. Some tripods can be made out of plastic but they are not very durable. Consider a tripod made of metal.
-
You may want to consider buying a remote-control device. Remote control allows you to remotely control your camera. Once you press the button, it will automatically fire the shutter.
-
Try to find a tripod with a head that rotates 360 degrees. This makes it easier to position your camera vertically or horizontally.
-
Keep in mind that tripods aren't cheap. Expect to pay between $100-200. You will still get a lot out of your money.
-
Accessories such as memory cards and filters are important.
-
Before you buy online, make sure to check your local shops. Many retailers offer free shipping.
-
Check out customer reviews to learn what they think about a product.
-
Ask your family members and friends to recommend similar products.
-
You can learn from customers' experiences by visiting message boards and forums.
-
You can search online for reviews from other users.
-
Amazon.com is a website that allows you to compare prices and get customer feedback.
-
Check out these photo galleries for an example of the work that photographers do with their tripods.
How can I look good on pictures?
You will look your best in photos if they are taken by you. Learn how to pose and what angles look best. Learn how to use lighting, props and other tools to enhance your natural beauty.
You'll discover how to choose clothes that fit well, make-up that looks great on you, and hairstyles that suit your face shape and style.
If you are not happy with your results, we will show you how you can retouch them using Photoshop and other editing tools.
Don't be afraid to take some self-portraits.
How do I get started with digital photography?
When you start out in digital photography, the first thing to consider is which type of camera you will use. There are many options: DSLRs (digital Single Lens Reflex Cameras), point-and–shoot compact cameras or camcorders. Each model has its own unique features and advantages. DSLR cameras, however, are larger and heavier than most other types of cameras. Point-and–shoot cameras can be smaller and lighter than DSLR cameras, and they often have automatic settings that allow for special situations. Camcorders are capable of recording excellent video quality and can also be used to take still photos. Smartphones are small, light, and easy to carry around and offer great image quality and many advanced features such as GPS mapping, music playback, and Internet browsing.
Once you've chosen the type of camera that you want, you can decide whether to purchase a used or new model. If the camera was purchased in the past few years, it is possible to find used cameras at reasonable prices. Newer models usually cost more as manufacturers invest large amounts of money to develop new technology.
Next, you will need to purchase lenses. Lenses are crucial in determining the quality and appearance of your photos. They allow you to control the lens's focal length, allowing you to zoom into the scene without losing focus. Some lenses are equipped with flash units built in, while others require external flash units. There is a wide selection of lenses available from different brands. Each lens has its own characteristics.
Finally, you need to purchase memory cards. Memory cards store photos taken by your camera. Your card's size will determine how many pictures it can store. If you plan to shoot lots of pictures, you will need multiple memory cards.
Light Room is a great way to enhance your photos.
Start early to get the best photos possible for your project. It's always a good idea to take as many pictures as possible and then decide which ones will be the most valuable.
Lightroom makes this possible by showing you how different settings affect each photograph. You can also adjust these settings on-the-fly without going back into Photoshop. This allows you to quickly experiment with what looks good and what doesn’t.
What Camera Should I Get
All depends on the type of photographer that you want to be. For beginners, a simple point-and-shoot is the best camera.
However, once the basics are mastered, it's likely that you will want more advanced features. The decision is yours.
These are some considerations before you purchase a camera.
-
Features: Which features are most important? Do you intend to use manual or autofocus settings? What number of megapixels has your camera? Is there one?
-
Price: How much money are you willing to spend? Are you planning on upgrading your camera every two years?
-
Brand: Will you be happy with the brand you select? There is no reason you should settle for less.
-
Functionality: Can your camera function well in low light conditions Are you able to take high-resolution images?
-
Image Quality - How clear and sharp is your image quality?
-
Battery Life: How long can your camera last before it needs to be charged?
-
Accessories: Do you have the ability to attach flashes, additional lenses, and so forth? ?
Statistics
- There are people out there who will pick at flaws they can only see in 100% crops of your photos. (wikihow.com)
- That's the easiest way to get blurry photos 100% of the time. (photographylife.com)
- Get 40% off Adobe Creative Cloud(opens in new tab) (creativebloq.com)
- The second easiest way to get blurry photos 100% of the time is to use a cheap filter on the front of your lens. (photographylife.com)
External Links
How To
What are the essential skills required to be a professional photographer?
For any photography job, you will need to have technical and artistic knowledge as well as business acumen.
Technical knowledge includes understanding exposure settings and camera functions, lens types, film speeds, developing techniques, and lens types.
An artist's ability is to understand composition, lighting, and pose.
Business acumen involves managing clients, budgeting and scheduling.
If you want to become a professional photographer, then you should have an interest in photography from a young age.
Take classes at school, college, or online to learn more about photography.
Many books are available to help you learn all aspects of photography.
Learning about photography is only half of the battle. It is equally important to find your own style.
This will allow you to stand out from other professionals in your field.
Photography has changed through the years. In the past, people used cameras like the Kodak Instamatic and Polaroid instant cameras.
Digital cameras are becoming more popular than ever. These days most photographers use their smartphones to take photos.
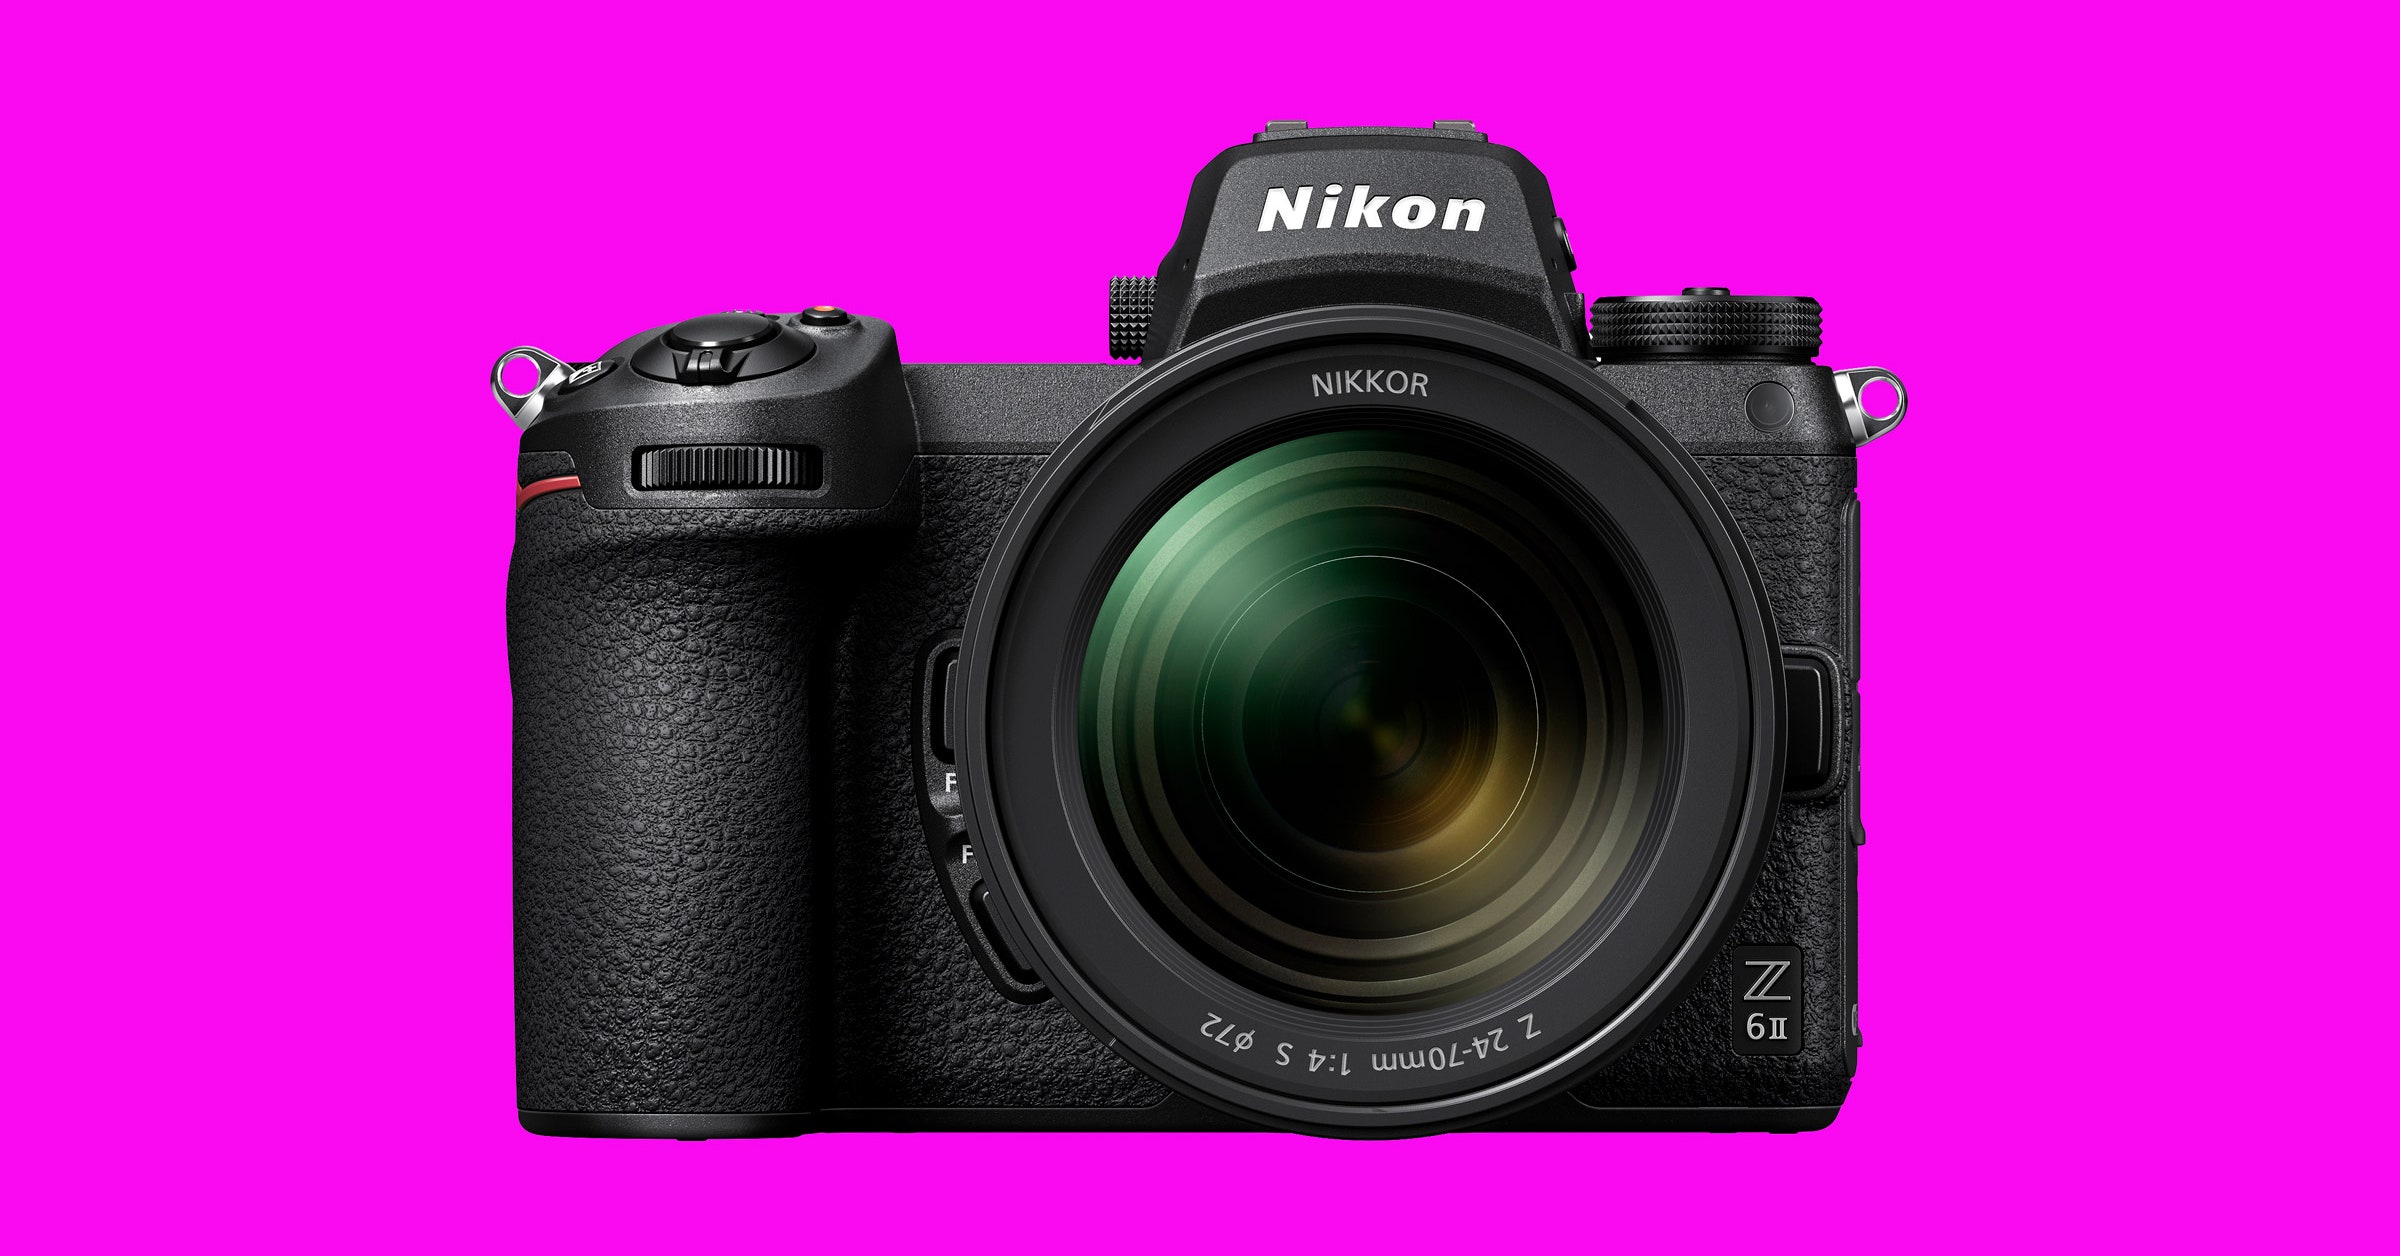
You can buy a smartphone with high-quality photos, but if your goal is to become a professional photographer, you will need a DSLR (Digital Single Lens Reflex) to take great pictures.
A DSLR allows you to control every aspect of your photo, including shutter speed, aperture, ISO sensitivity, white balance, and focus.
These features make it possible to create beautiful photographs with a variety of effects.
These controls can also alter the mood of your image.
For example, you could make your subject appear blurry by using a fast shutter speed.
You can also make the images appear as if they are moving by increasing their light input.
Adjusting the scene's hue can change the mood.
For example, if there is lots of blue light around, you can increase the red content of the picture to give it a warmer feel.
It might be hard to decide which direction to point your lens.
Once you learn the basics, however, you'll soon realize it's not that difficult.
It's much simpler than you think!
The first time you start out, you'll probably only be able to shoot landscapes and close-up images of objects.
Don't worry, as you get more experience, you'll be able capture everything from abstracts to portraits.
Once you are proficient in the basics, you will be able to move on to more difficult subjects.
Here are some tips that will help you get going.
-
Find a peaceful place. Find somewhere that you can enjoy your time and relax.
-
Look for something to photograph. Look for things that are unusual or unique.Try photographing flowers, animals, or even insects.
-
Make sure to take lots of practice photos. Practice makes perfect!
-
Experiment with different angles. Depending on the goal, hold your camera in a different way.
-
Use different lenses. Different lenses provide different perspectives.
-
Shoot in low-light conditions. It can be difficult to shoot in bright sunlight.
-
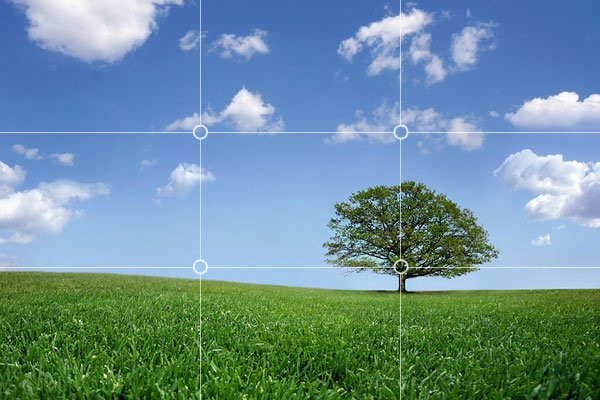
Practice framing the shot. Framing is one of the most important skills when capturing an image.
-
Learn how your camera settings work. Spend time playing with your camera settings. This is the best way to improve your photos.
-
Keep learning new techniques. Photography can be learned in many different ways. You can visit local museums, galleries and libraries.
-
Read books and magazines. Everything you need to know about photography can be found in books and magazines.
-
Join a photography club. Photography clubs often hold events that encourage members to share their work.