A selfie is a self-portrait photograph that people take with a digital camera or smartphone. The person may either hold the camera in one hand or hold it with a stick. Social networking sites like Instagram, Twitter and Snapchat allow people to share selfies online. It may seem easy to take a selfie, but it has become a worldwide phenomenon.
Histories
The History of the Selfie dates back to the beginnings of photography when it was still a very specialized field. The first self-portrait was captured by Robert Cornelius, wearing a double-breasted frock coat and white cravat. The emergence of cheaper and more convenient instant cameras helped make the selfie a popular form of self-expression. The popularity of self-portraits grew after the introduction daguerreotypy, an artistic process that allows for the use of photographs. It required a photographer who would polish the silver-plated, copper, rinse and dry it before sealing.
Connotations
Selfies are a popular way for people to express their feelings. But they are not very natural, and the photographer's actions are often disingenuous. When someone posts a selfie, they can be targeted for physical or stalking violence.
Styles
One of the most popular types of pictures on social networks are selfies. These pictures are easy to take and allow users full control over how they look. Most selfies are taken with the intention of presenting a flattering image to others. These pictures often show attractive people and are often taken at interesting locations. An analysis from 2013 showed that the posting of selfies was linked to lower levels in social support and intimacy with Facebook buddies.
Apps
You can edit your photos with a photo editor app to improve the quality of your selfies. These applications are available in the App Store as well as Google Play. These apps can enhance your photos and allow you to express your emotions through filters. There are more then 100 filters you can choose from.
Origins
Oxford Dictionaries claims that the term "selfie", first used on the Internet in 2002, at an Australian Internet forum, was according to Oxford Dictionaries. As smartphones and social networking sites increased in popularity, it gained immense popularity. The usage of the word has increased by more than 17,000 percent over the past year.
Meaning
Selfies are images of oneself, usually taken using a digital cameras phone. They are intended to be shared with others. Some people use selfies to make slang terms. Others use them as acronyms. The context of the selfie will affect the meaning of selfie.
Experimentation
Selfies are now a daily part of our lives. We are constantly confronted by shame and visibility in a digital age. Selfies are also a way to share and record our private lives.
FAQ
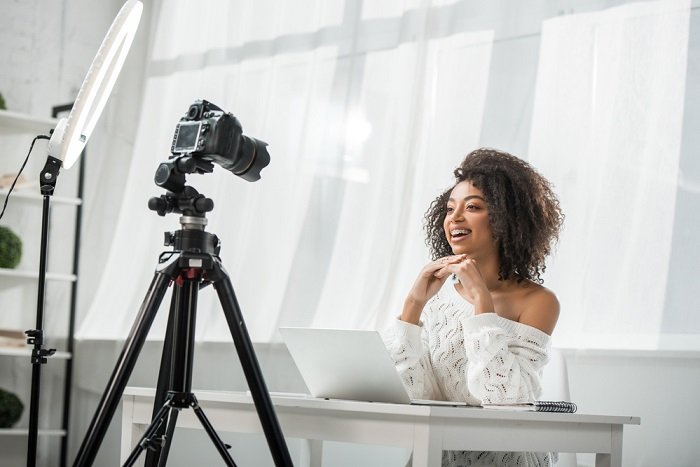
Do I Need A Tripod?
This is one of those common questions. The truth is that a tripod isn't always necessary, but it can come in handy.
It allows you to hold your camera steady when taking pictures at slow shutter speeds. A tripod can be very useful if you want to photograph landscapes and stationary subjects.
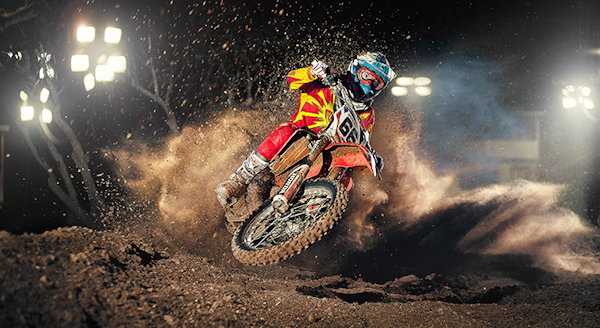
However, tripods can blur the images of moving subjects like sports and people. So, how do you know which situations require a tripod?
A tripod is useful for any situation where you want to photograph fast action or stationary subjects. Examples include:
-
Sports
-
People
-
Landscapes
-
Close-ups
-
Macro shots
You can use this test to determine whether you need a tripod. Take your camera and hold it still. Then, look through the scope. If you see blurred lines or movement, then you definitely need a tripod.
If you don’t see blurring, adding a tripod is unlikely to make any difference.
These tips will help you make the right decision about whether to invest in a tripod.
-
Smooth legs are important for tripods. This will prevent unwanted vibrations from shaking your lens.
-
Choose a sturdy tripod. Some tripods are made of plastic, so they may not be as durable. Instead, choose a metal tripod.
-
You may want to consider buying a remote-control device. Remote control allows you to remotely control your camera. The button can be pressed to activate the shutter.
-
Make sure to look for a tripod that rotates 360 degrees. This makes it easier to position your camera vertically or horizontally.
-
Tripods are expensive. Expect to pay $100-200. However, you'll get a lot of value for your money.
-
Accessories such as filters and memory cards should be considered.
-
Before shopping online, be sure to visit your local shop. Many retailers offer free shipping.
-
Read reviews to determine what customers think about a particular product.
-
Ask your family members and friends to recommend similar products.
-
Visit forums and message boards to learn about customer experiences.
-
You can search online for reviews from other users.
-
Use websites like Amazon.com to compare prices and read customer feedback.
-
Take a look at these photo galleries to see what other photographers do with tripods.
Light Room is a great way to enhance your photos.
The best way to ensure you have the perfect photos for your project is to start early. It's better if you take as many shots possible before you decide on the ones that give the most value.
Lightroom allows this because it lets you see the effects of different settings on each photo. These settings can be changed on the fly, without needing to return to Photoshop. This allows you quick experimentation to see what looks best and what doesn’t.
What is the rule or thirds?
The rule of thirds can be used to create beautiful compositions, without having to use complicated camera settings. This divides your image horizontally and vertically into nine equal parts. This creates three main areas in which you want your subject. These are the top third (the upper left corner), middle third (center), and bottom third (lower right). These areas are useful for positioning your subject in your frame.
The rule to thirds allows you to avoid placing important elements too closely together or too far apart. You might not have enough space between them for a strong visual impact if you put them close together. If they are placed too far apart, it can cause them to lose focus.
Which Lenses should I Use?
The most frequently asked question by beginners is "What lens should i buy?" This is a difficult decision because there are so many options.
The good news is that you don't necessarily need to buy a new lens every time you purchase a new camera. You can simply add lenses later.
Here are three types you might be interested in.
-
Wide Angle Lens (14mm-24mm): These lenses offer a wide field of view that allows you to capture more detail. You can also zoom in without losing image quality.
-
Standard/Normal Zoom Lens (28mm-70mm): These lenses let you change the focal length while still maintaining excellent image quality.
-
Telephoto Zoom Lens (70mm–200mm) : These lenses are ideal for photographing distant subjects. They allow you to focus on your subject despite the fact that they may seem small in the frame.
These lenses can also be combined to produce different effects. One example is to use a regular lens to photograph close-up details and then switch to a long-range lens to capture faraway objects.
How do I learn to take photos on my own?
There are many options for learning how to take great photographs. You have the option to buy a book and attend classes, join an on-line community, or watch YouTube tutorials. You can't go wrong with doing it yourself if you are serious about mastering the art of photographing. So you can decide what goes into each picture. You will continue to learn and improve, so long as you are willing to keep learning.
In fact, one of the best things about digital photography is that you don't even need expensive equipment. All you require is an internet-enabled computer and a good camera. The rest is up for you.
Here are some tips to get you started.
-
Acquaint yourself with the manual settings of your camera.
-
Learn how to use the controls.
-
Photograph lots.
-
These should be edited.
-
Share them.
-
Keep practicing.
-
Experiment.
-
Explore different perspectives and angles.
-
Use light sources creatively.
-
Practice makes perfect.
-
Never be afraid to fail.
-
Be patient.
-
Have fun
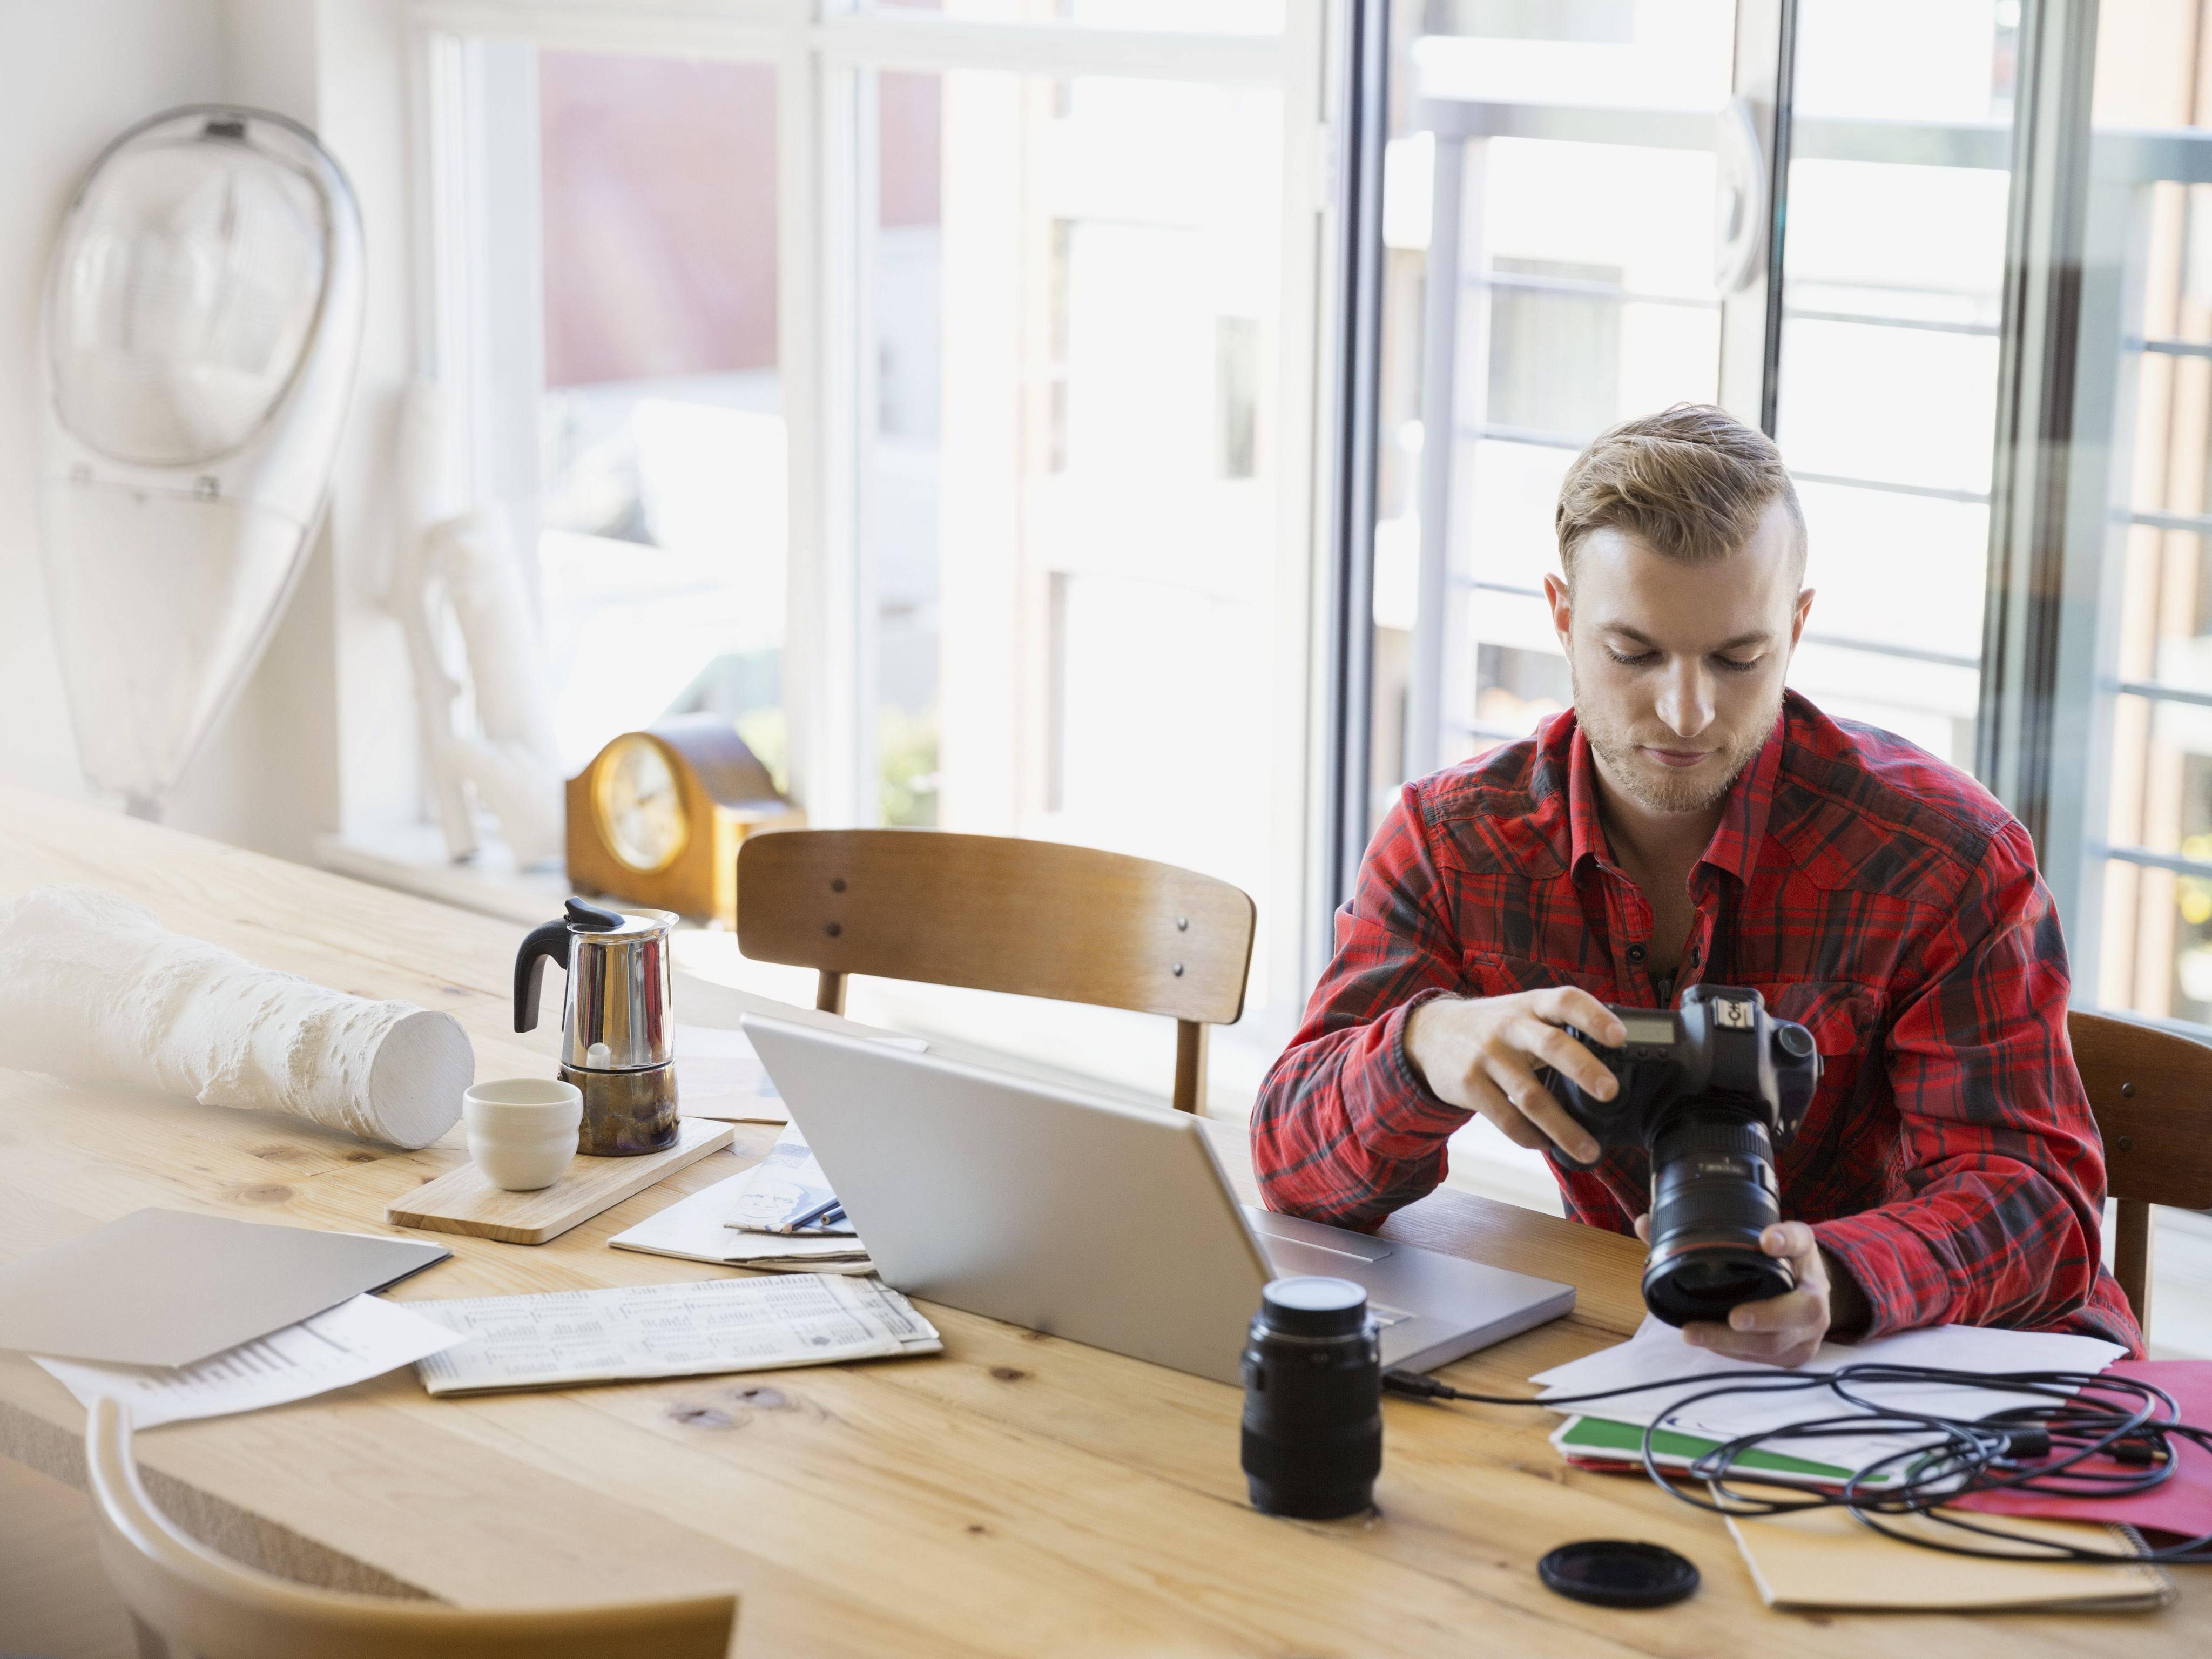
What equipment do I need to get started in digital photography?
When you start out in digital photography, the first thing to consider is which type of camera you will use. You have several options, including DSLRs (digital single lens reflex cameras), point-and-shoot compact cameras, camcorders, and smartphones. Each camera has different benefits and features. DSLR cameras can produce high-quality images, but they are usually heavier and more bulky than other types. Point-and-shoot cameras tend to be smaller and lighter, and may have automatic settings for specific situations. Camcorders have excellent video recording capabilities. They may also offer still-photo shooting modes. Smartphones are lightweight, portable, and light. They offer excellent image quality, advanced features, such as GPS mapping, music playingback, and Internet browsing.
Once you've decided on the type of camera you'd like to buy, you will need to decide whether you would rather buy a used or new one. Cameras that have been used in recent years can often be found for a reasonable price. New models generally cost more because manufacturers spend large amounts of money developing new technology.
Next, purchase lenses. Lenses are a critical part of determining the quality your photos. These lenses allow you control the focal length of your lens, which allows you to zoom into the scene and not lose focus. Some lenses come with built-in flash units while others need external flash units. A wide range of lenses is available from various brands, each offering unique characteristics.
Finally, you need to purchase memory cards. Memory cards store pictures taken by your camera. You can store hundreds, thousands, or even more pictures depending on the size of the card. You will need multiple memory card if you plan on taking many photos.
Statistics
- While I cannot prove that all of those spots were not sensor dust, the photo was taken during a heavy snowstorm…so I guess that 99.8% of the spots are snowflakes. (bhphotovideo.com)
- There are people out there who will pick at flaws they can only see in 100% crops of your photos. (wikihow.com)
- In this case, 100% of readers who voted found the article helpful, earning it our reader-approved status. (wikihow.com)
- This article received 13 testimonials, and 100% of readers who voted found it helpful, earning it our reader-approved status. (wikihow.com)
External Links
How To
How to take macro photos in photography
Macro photography is the ability to capture small objects, such as insects and flowers, at close range. Macro comes from the Greek makros (makros) which means large. A lens with a focal length over 50mm can be used to take photos of objects very close up.
A macro lens with a good working distance should be able to capture sharp images even when you are not moving too much. Because of the possibility of blurring your image from movement, you should avoid taking photos while moving.
Here are some great tips to create stunning macro photographs.
-
Use a tripod. Set up a table or chair so you don’t knock anything over. You'll be less likely to move while you shoot.
-
Make sure you choose the right lighting. Macro lenses usually come with built in light filters. But if you don’t, you can always buy one. It prevents overexposure.
-
Be patient! Shooting macros takes practice. Sometimes, you may only be able to see a small bug or flower. But it's worth the effort to keep taking pictures until you get it.
-
RAW format is best. RAW files store more data than standard JPEGs. RAW files can be edited later and allow for more detail such as cropping and color correction.
-
Don't forget the background. The background can be as important as the foreground. You should include it in any photo.
-
Keep learning.